Pular para o conteúdo
HitLight
Ayrton · Moving head

Ayrton Mamba

Tabela DMX, 1 modo DMX e prévia em 3D. 47 canais DMX.
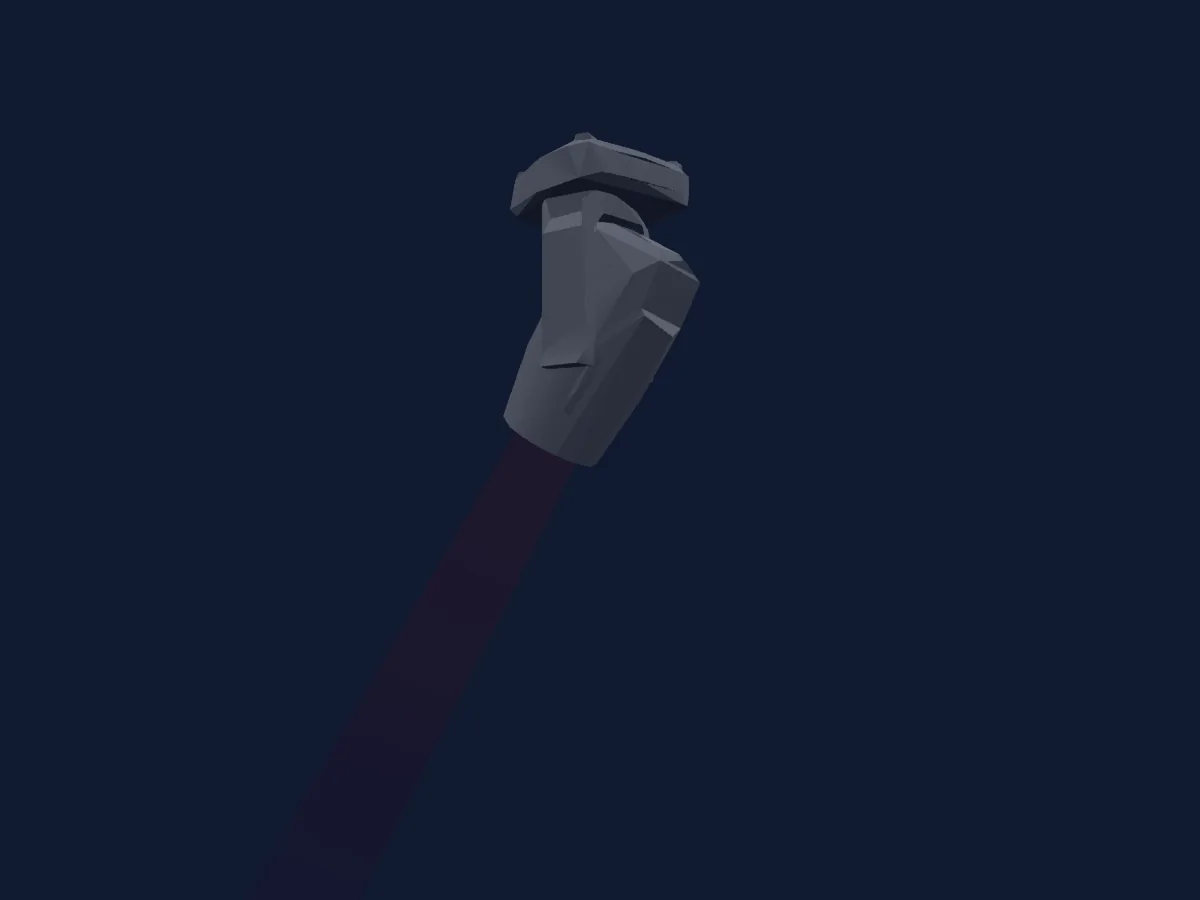
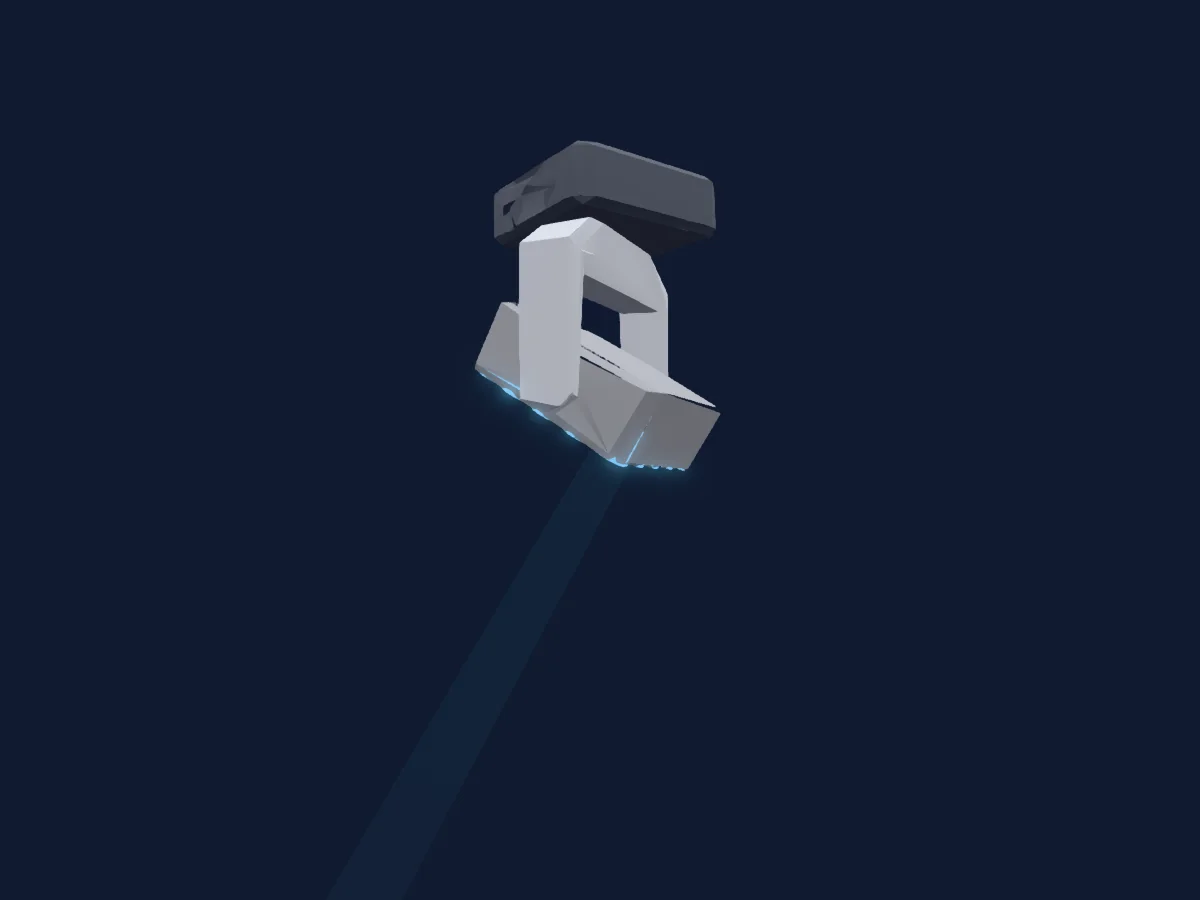
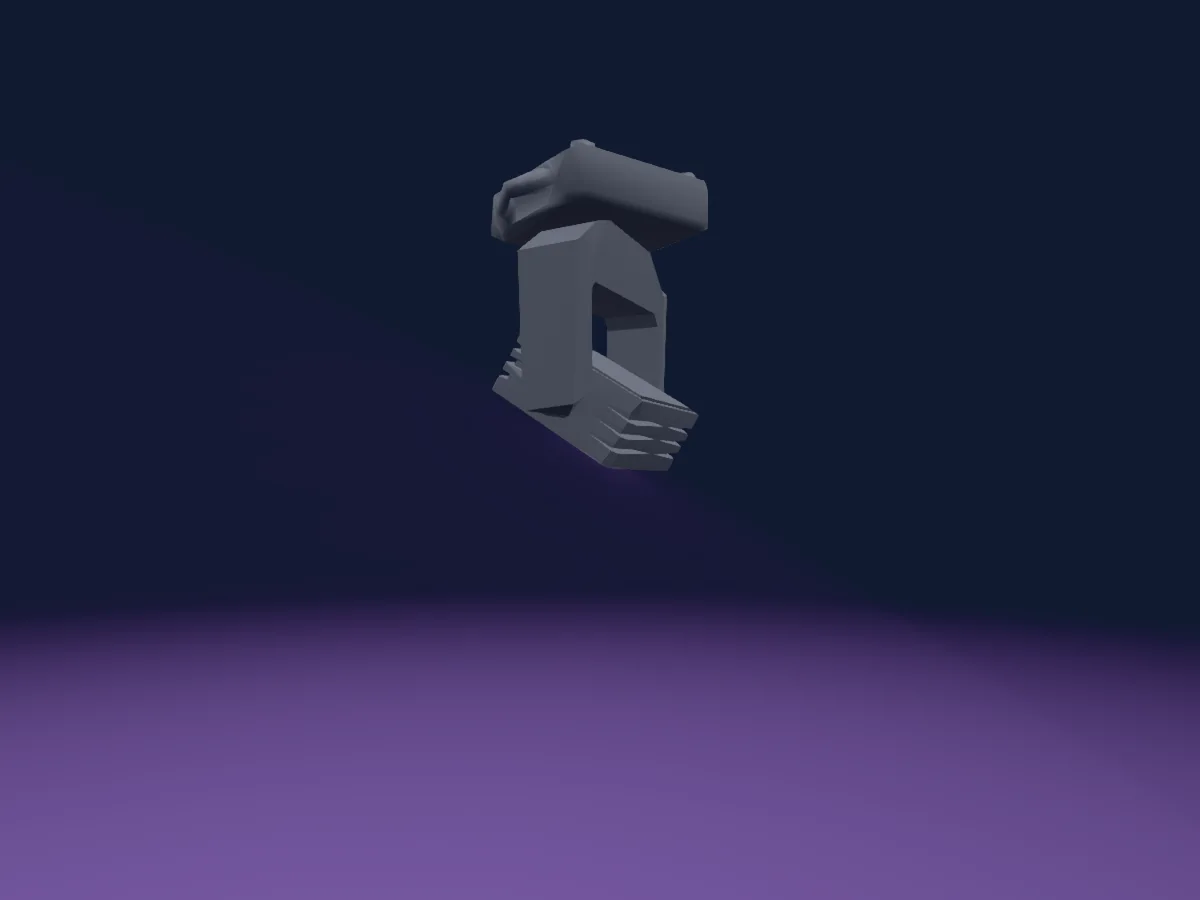
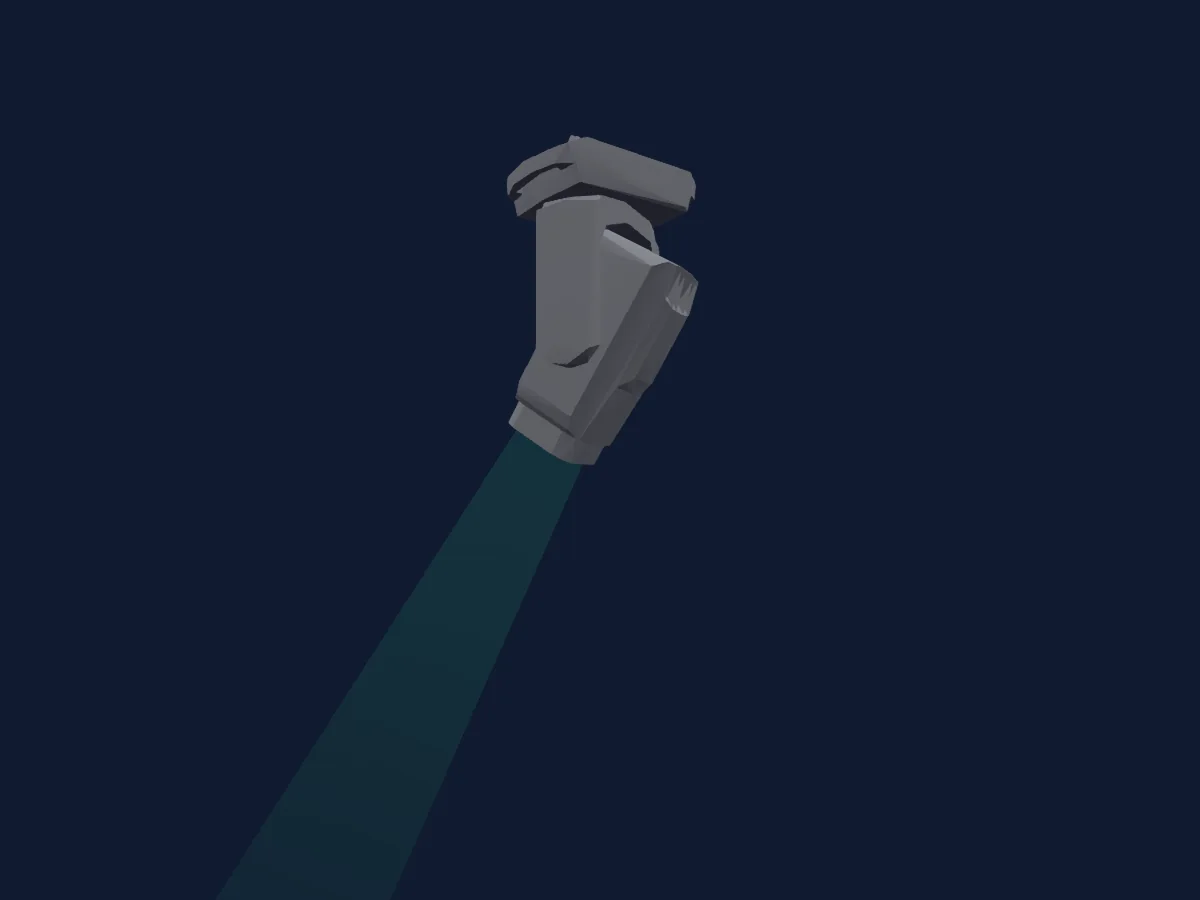
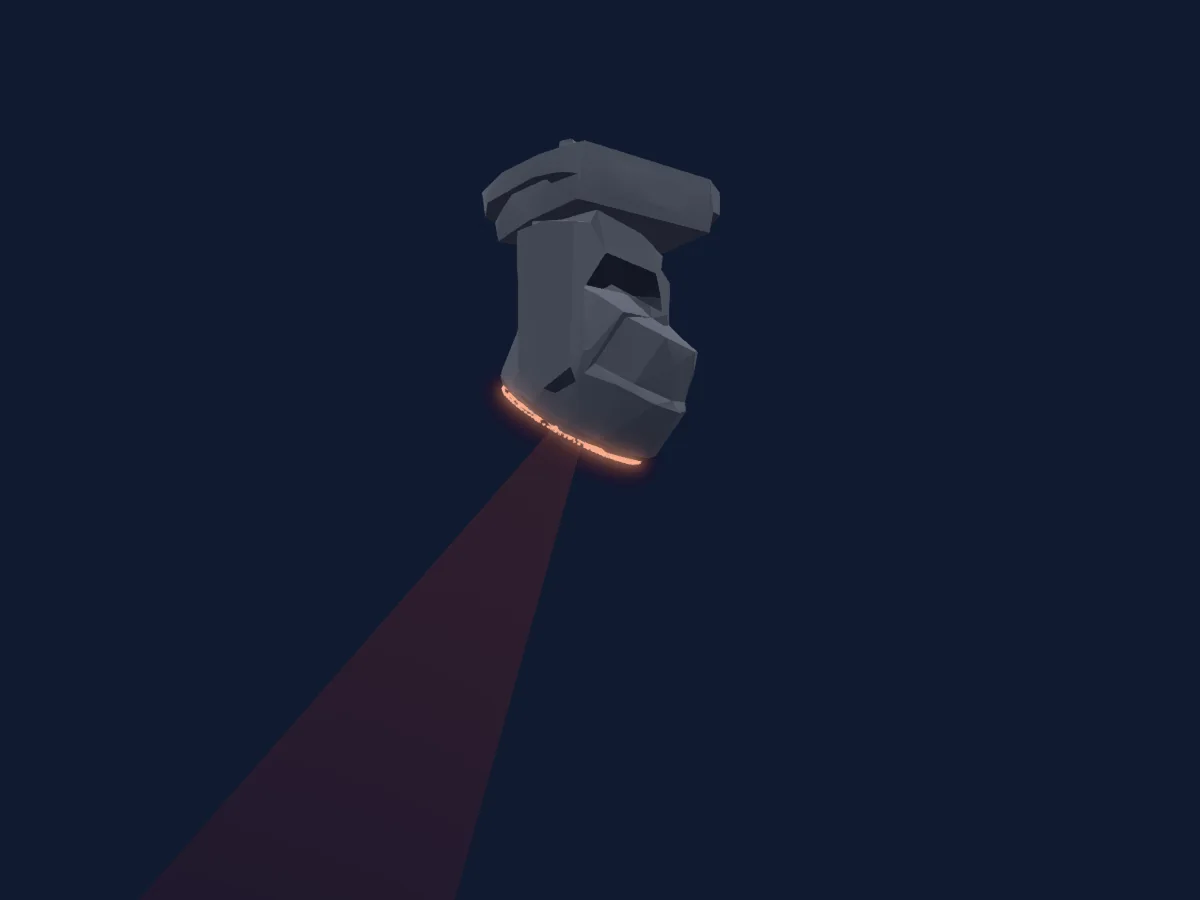
Ayrton Mamba renderizado no HitLight

O que ele faz

  • Foco
  • Prisma
  • Rotação do prisma
  • Zoom
  • Mistura de cores CMY
  • Temperatura de cor
  • Roda de cores
  • Strobo
  • Dimmer
  • Pan e tilt
  • Velocidade de movimento
  • Gobos
  • Rotação de gobos

Funções relevantes para a segurança: Programas de efeitos integrados. Confira como elas se comportam no seu refletor antes de um show.

Modos DMX e tabelas de canais

Modos DMX de Ayrton Mamba
ModoCanaisNo HitLight
Extended_54047Pronto no HitLight

Extended_540

Pronto no HitLight

47 canais DMX · Baixar esta tabela em CSV

Tabela de canais DMX de Extended_540
CanalFunçãoPadrãoValores DMX
1Pan1280–255
2Pan Fine0Byte fino de Pan
3Tilt1280–255
4Tilt Fine0Byte fino de Tilt
5Position MSpeed0
4 faixas de valores
  • 0–225 max to min speed
  • 226–235 blackout by movement
  • 236–245 blackout by all wheels
  • 248–255 Execute blanking zone command(10 sec before action)
6Pan Rotate0
7 faixas de valores
  • 32–84 Stop by SpinOut
  • 85–127 Stop by ShortCut
  • 128–188 CW max
  • 189–189 CW min
  • 190–193 Pause
  • 194–254 CCW min
  • 255–255 CCW max
7Tilt Rotate0
7 faixas de valores
  • 32–84 Stop by SpinOut
  • 85–127 Stop by ShortCut
  • 128–188 CW max
  • 189–189 CW min
  • 190–193 Pause
  • 194–254 CCW min
  • 255–255 CCW max
8Shutter / Strobe11
11 faixas de valores
  • 0–10 Closed
  • 11–20 open
  • 21–116 ShutterStrobe · min 0.5–24.7 Hz
  • 117–117 ShutterStrobe · max 25 Hz
  • 118–126 open
  • 127–179 ShutterPulse · min 0.5–24.5 Hz
  • 180–180 ShutterPulse · max 25 Hz
  • 181–191 open
  • 192–244 ShutterRandom · min 0.5–24.5 Hz
  • 245–245 ShutterRandom · max 25 Hz
  • 246–255 open
9Dimmer0
2 faixas de valores
  • 0–254 closed
  • 255–255 open
10Dimmer Fine0Byte fino de Dimmer
11C TO00–255
12C TO Fine0Byte fino de C TO
13B ZCommand0
27 faixas de valores
  • 5–9 Store/overwrite blanking Zone TOP RIGHT
  • 10–14 Store/overwrite blanking Zone BOTTOM RIGHT
  • 15–19 Store/overwrite blanking Zone TOP LEFT
  • 20–24 Store/overwrite blanking Zone BOTTOM LEFT
  • 25–29 Recall blanking Zone TOP RIGHT
  • 30–34 Recall blanking Zone BOTTOM RIGHT
  • 35–39 Recall blanking Zone TOP LEFT
  • 40–44 Recall blanking Zone BOTTOM LEFT
  • 45–49 Delete blanking Zone TOP RIGHT
  • 50–54 Delete blanking Zone BOTTOM RIGHT
  • 55–59 Delete blanking Zone TOP LEFT
  • 60–64 Delete blanking Zone BOTTOM LEFT
  • 65–69 Delete blanking Zone ALL POINT
  • 70–74 Invert Blanking Zone Off
  • 75–99 Invert Blanking Zone On
  • 100–109 Distance Off
  • 110–119 Distance 10m
  • 120–129 Distance 15m
  • 130–139 Distance 20m
  • 140–149 Distance 25m
  • 150–159 Distance 30m
  • 160–169 Distance 35m
  • 170–179 Distance 40m
  • 180–189 Distance 45m
  • 190–199 Distance 50m
  • 200–209 Distance 55m
  • 210–255 Distance 60m
14Zoom19
3 faixas de valores
  • 0–127 narrow
  • 128–254 mid
  • 255–255 wide
15Zoom Fine83Byte fino de Zoom
16Focus90
3 faixas de valores
  • 0–127 near
  • 128–254 mid
  • 255–255 far
17Focus Fine192Byte fino de Focus
18Focus1Distance0
5 faixas de valores
  • 0–50 NoAutoFocus
  • 51–100 5m
  • 101–150 7_5m
  • 151–200 10m
  • 201–255 15m
19Focus1Distance Fine0Byte fino de Focus1Distance
20Zoom Mode0
3 faixas de valores
  • 0–84 Mode Beam
  • 85–169 Mode Spot
  • 170–255 Special Mode
21Color Wheel0
32 faixas de valores
  • 0–0 open (wheel slot 1)
  • 1–34 Multicolor 1 (wheel slot 21)
  • 35–50 Multicolor 2 (wheel slot 22)
  • 51–63 Multicolor 3 (wheel slot 23)
  • 64–64 Red (wheel slot 2)
  • 65–65 Blue (wheel slot 3)
  • 66–66 Orange (wheel slot 4)
  • 67–67 Green (wheel slot 5)
  • 68–68 Pink (wheel slot 6)
  • 69–69 Yellow (wheel slot 7)
  • 70–70 Velvet Green (wheel slot 8)
  • 71–71 Amber (wheel slot 9)
  • 72–72 Light Blue (wheel slot 10)
  • 73–73 Follies Pink (wheel slot 11)
  • 74–74 Slate Blue (wheel slot 12)
  • 75–75 Dark green (wheel slot 13)
  • 76–76 Dark Amber (wheel slot 14)
  • 77–77 Medium Blue (wheel slot 15)
  • 78–78 Oklahoma Yellow (wheel slot 16)
  • 79–79 Multicolor 1 (wheel slot 17)
  • 80–80 Multicolor 2 (wheel slot 18)
  • 81–81 Minus Green 1/4 (wheel slot 19)
  • 82–82 Minus Green 1/2 (wheel slot 20)
  • 83–91 Effect Multicolor 3 (wheel slot 21)
  • 92–100 Effect Multicolor 2 (wheel slot 22)
  • 101–109 Effect Multicolor 1 (wheel slot 23)
  • 110–127 NoFeature 1
  • 128–188 CW max
  • 189–189 CW min
  • 190–193 stop
  • 194–254 CCW min
  • 255–255 CCW max
22Color Wheel Fine0Byte fino de Color Wheel
23Cyan00–255
24Cyan Fine0Byte fino de Cyan
25Magenta00–255
26Magenta Fine0Byte fino de Magenta
27Yellow00–255
28Yellow Fine0Byte fino de Yellow
29Gobo0
27 faixas de valores
  • 0–9 Open (wheel slot 1)
  • 10–13 Eccentric Dot (wheel slot 2)
  • 14–17 Line Mix 18 (wheel slot 3)
  • 18–21 Dot Square 4 (wheel slot 4)
  • 22–25 Square Beam 4 (wheel slot 5)
  • 26–29 Nuclear (wheel slot 6)
  • 30–33 Dot Line 5 (wheel slot 7)
  • 34–37 Dot Ring 6 (wheel slot 8)
  • 38–41 Dot Mix (wheel slot 9)
  • 42–45 Five Spokes (wheel slot 10)
  • 46–49 Nested Half Ring (wheel slot 11)
  • 50–53 Eight Spokes (wheel slot 12)
  • 54–57 Nested Ring Light (wheel slot 13)
  • 91–101 Eccentric Dot (wheel slot 2)
  • 102–112 Line Mix 18 (wheel slot 3)
  • 113–123 Dot Square 4 (wheel slot 4)
  • 124–134 Square Beam 4 (wheel slot 5)
  • 135–145 Nuclear (wheel slot 6)
  • 146–156 Dot Line 5 V (wheel slot 7)
  • 157–167 Dot Ring 6 (wheel slot 8)
  • 168–178 Dot Mix (wheel slot 9)
  • 179–189 Five Spokes (wheel slot 10)
  • 190–220 CW max
  • 221–221 CW min
  • 222–223 Stop
  • 224–254 CCW min
  • 255–255 CCW max
30Gobo Rotation0
6 faixas de valores
  • 0–126 Gobo1Index
  • 127–188 CW max
  • 189–189 CW min
  • 190–193 stop
  • 194–254 CCW min
  • 255–255 CCW max
31Gobo Rotation Fine0Byte fino de Gobo Rotation
32Gobo 20
64 faixas de valores
  • 0–2 Open (wheel slot 36)
  • 3–13 CW Max (wheel slot 2)
  • 14–14 CW Min (wheel slot 2)
  • 15–17 Stop (Speed=0) (wheel slot 2)
  • 18–28 CCW Min (wheel slot 2)
  • 29–29 CCW Max (wheel slot 2)
  • 30–30 80% Iris Beam (wheel slot 1)
  • 31–31 60% Iris Beam (wheel slot 2)
  • 32–32 40% Iris Beam (wheel slot 3)
  • 33–33 20% Iris Beam (wheel slot 4)
  • 34–34 Dot Line 2 (wheel slot 5)
  • 35–35 Dot Triangle 3 (wheel slot 6)
  • 36–36 Dot Square 4 (wheel slot 7)
  • 37–37 Dot Ring 5 (wheel slot 8)
  • 38–38 Zig Zag Light (wheel slot 9)
  • 39–39 Vortex Light (wheel slot 10)
  • 40–40 Spiral (wheel slot 11)
  • 41–41 Helix 5 (wheel slot 12)
  • 42–42 Triangle Beam (wheel slot 13)
  • 43–43 Daisy (wheel slot 14)
  • 44–44 Nested Star (wheel slot 15)
  • 45–45 Square Ring 8 (wheel slot 16)
  • 46–46 Circular Saw 4 (wheel slot 17)
  • 47–47 Waves Light (wheel slot 18)
  • 48–48 Prison Bars (wheel slot 19)
  • 49–49 Ink Stain (wheel slot 20)
  • 50–50 Arrows (wheel slot 21)
  • 51–51 Iris 8 (wheel slot 22)
  • 52–52 Dot Mix 8 (wheel slot 23)
  • 53–53 Quarter Beam NE (wheel slot 24)
  • 54–54 Quarter Beam SE (wheel slot 25)
  • 55–55 Quarter Beam SW (wheel slot 26)
  • 56–56 Quarter Beam NW (wheel slot 27)
  • 57–57 Half Beam Down (wheel slot 28)
  • 58–58 Half Beam Up (wheel slot 29)
  • 59–59 Half Beam Left (wheel slot 30)
  • 60–60 Half Beam Right (wheel slot 31)
  • 61–61 Crash Test Icon (wheel slot 32)
  • 62–62 Split Triangle 4 (wheel slot 33)
  • 63–63 Split Triangle 1 (wheel slot 34)
  • 64–64 Iron Ball Light (wheel slot 35)
  • 65–65 Open (wheel slot 36)
  • 66–66 Vertical Line (wheel slot 37)
  • 67–67 Bold Line (wheel slot 38)
  • 68–68 Square Line 3 V (wheel slot 39)
  • 69–69 Square Line 3 H (wheel slot 40)
  • 70–70 Four Lines H (wheel slot 41)
  • 71–71 Four Lines V (wheel slot 42)
  • 72–72 Square Beam (wheel slot 43)
  • 73–73 Rubik Cube (wheel slot 44)
  • 74–74 Split Cross (wheel slot 45)
  • 75–75 Square Beam 9 (wheel slot 46)
  • 76–76 Dot Ring 6 (wheel slot 47)
  • 77–77 Dot Ring 7 (wheel slot 48)
  • 78–78 Split Circle 6 (wheel slot 49)
  • 79–79 Dot Mix (wheel slot 50)
  • 80–80 Triangle Beam (wheel slot 51)
  • 81–81 Compass 4 (wheel slot 52)
  • 82–82 Star Line 5 (wheel slot 53)
  • 83–83 Star Beam (wheel slot 54)
  • 84–84 Star 8 (wheel slot 55)
  • 85–85 Star 10 (wheel slot 56)
  • 86–86 Star 12 (wheel slot 57)
  • 87–87 Arrow Ring 6 (wheel slot 58)
33Prism0
6 faixas de valores
  • 0–40 Open (wheel slot 1)
  • 41–83 Prism 8 Circular (wheel slot 2)
  • 84–126 Prism 6 Circular (wheel slot 3)
  • 127–169 Prism 6 Linear (wheel slot 4)
  • 170–212 Prism 4 Linear (wheel slot 5)
  • 213–255 Light Frost
34Prism Rotation0
6 faixas de valores
  • 0–127 Prism1Pos
  • 128–188 CW max
  • 189–189 CW min
  • 190–193 stop
  • 194–254 CCW min
  • 255–255 CCW max
35Prism Rotation Fine0Byte fino de Prism Rotation
36Prism0
6 faixas de valores
  • 0–40 Open (wheel slot 1)
  • 41–83 Prism 16 Circular (wheel slot 2)
  • 84–126 Prism 6 Circular (wheel slot 3)
  • 127–169 Prism 6 Linear (wheel slot 4)
  • 170–212 Prism 4 Linear (wheel slot 5)
  • 213–255 Heavy Frost
37Prism Rotation0
6 faixas de valores
  • 0–127 Prism2Pos
  • 128–188 CW max
  • 189–189 CW min
  • 190–193 stop
  • 194–254 CCW min
  • 255–255 CCW max
38Prism Rotation Fine0Byte fino de Prism Rotation
39Prism0
3 faixas de valores
  • 0–7 Open (wheel slot 1)
  • 8–131 Prism 5 Circular (wheel slot 2)
  • 132–255 Prism 5 Linear (wheel slot 3)
40Prism Rotation0
6 faixas de valores
  • 0–127 Prism3Pos
  • 128–188 CW max
  • 189–189 CW min
  • 190–193 stop
  • 194–254 CCW min
  • 255–255 CCW max
41Prism Rotation Fine0Byte fino de Prism Rotation
42Prism0
3 faixas de valores
  • 0–7 Open (wheel slot 1)
  • 8–131 Prism 7 Linear (wheel slot 2)
  • 132–255 Prism 4+8 Circular (wheel slot 3)
43Prism Rotation0
6 faixas de valores
  • 0–127 Prism4Pos
  • 128–188 CW max
  • 189–189 CW min
  • 190–193 stop
  • 194–254 CCW min
  • 255–255 CCW max
44Prism Rotation Fine0Byte fino de Prism Rotation
45Effect00–255
46B ZNumber0
4 faixas de valores
  • 10–19 Blanking Zone #1
  • 20–29 Blanking Zone #2
  • 30–39 Blanking Zone #3
  • 40–255 Blanking Zone #4
47Control100–255

Usar Ayrton Mamba no HitLight

  1. Abra Adicionar refletor e procure Ayrton Mamba.
  2. Escolha o modo DMX configurado no menu do próprio refletor. O HitLight atribui a ele o menor endereço inicial livre do universo que comporta a quantidade de canais do modo.
  3. Confira o modo e os controles no seu refletor real antes de usar ao vivo.

As tabelas vêm da descrição GDTF do refletor, convertida para a biblioteca do HitLight. O HitLight não tem vínculo com a Ayrton.

Faça o patch e deixe a música comandar as luzes.

O HitLight encontra esses refletores na biblioteca, faz o patch no próximo endereço livre e mostra seu rig em 3D antes de você ligar uma única luz.

Abrir HitLight ↗Baixar o HitLight